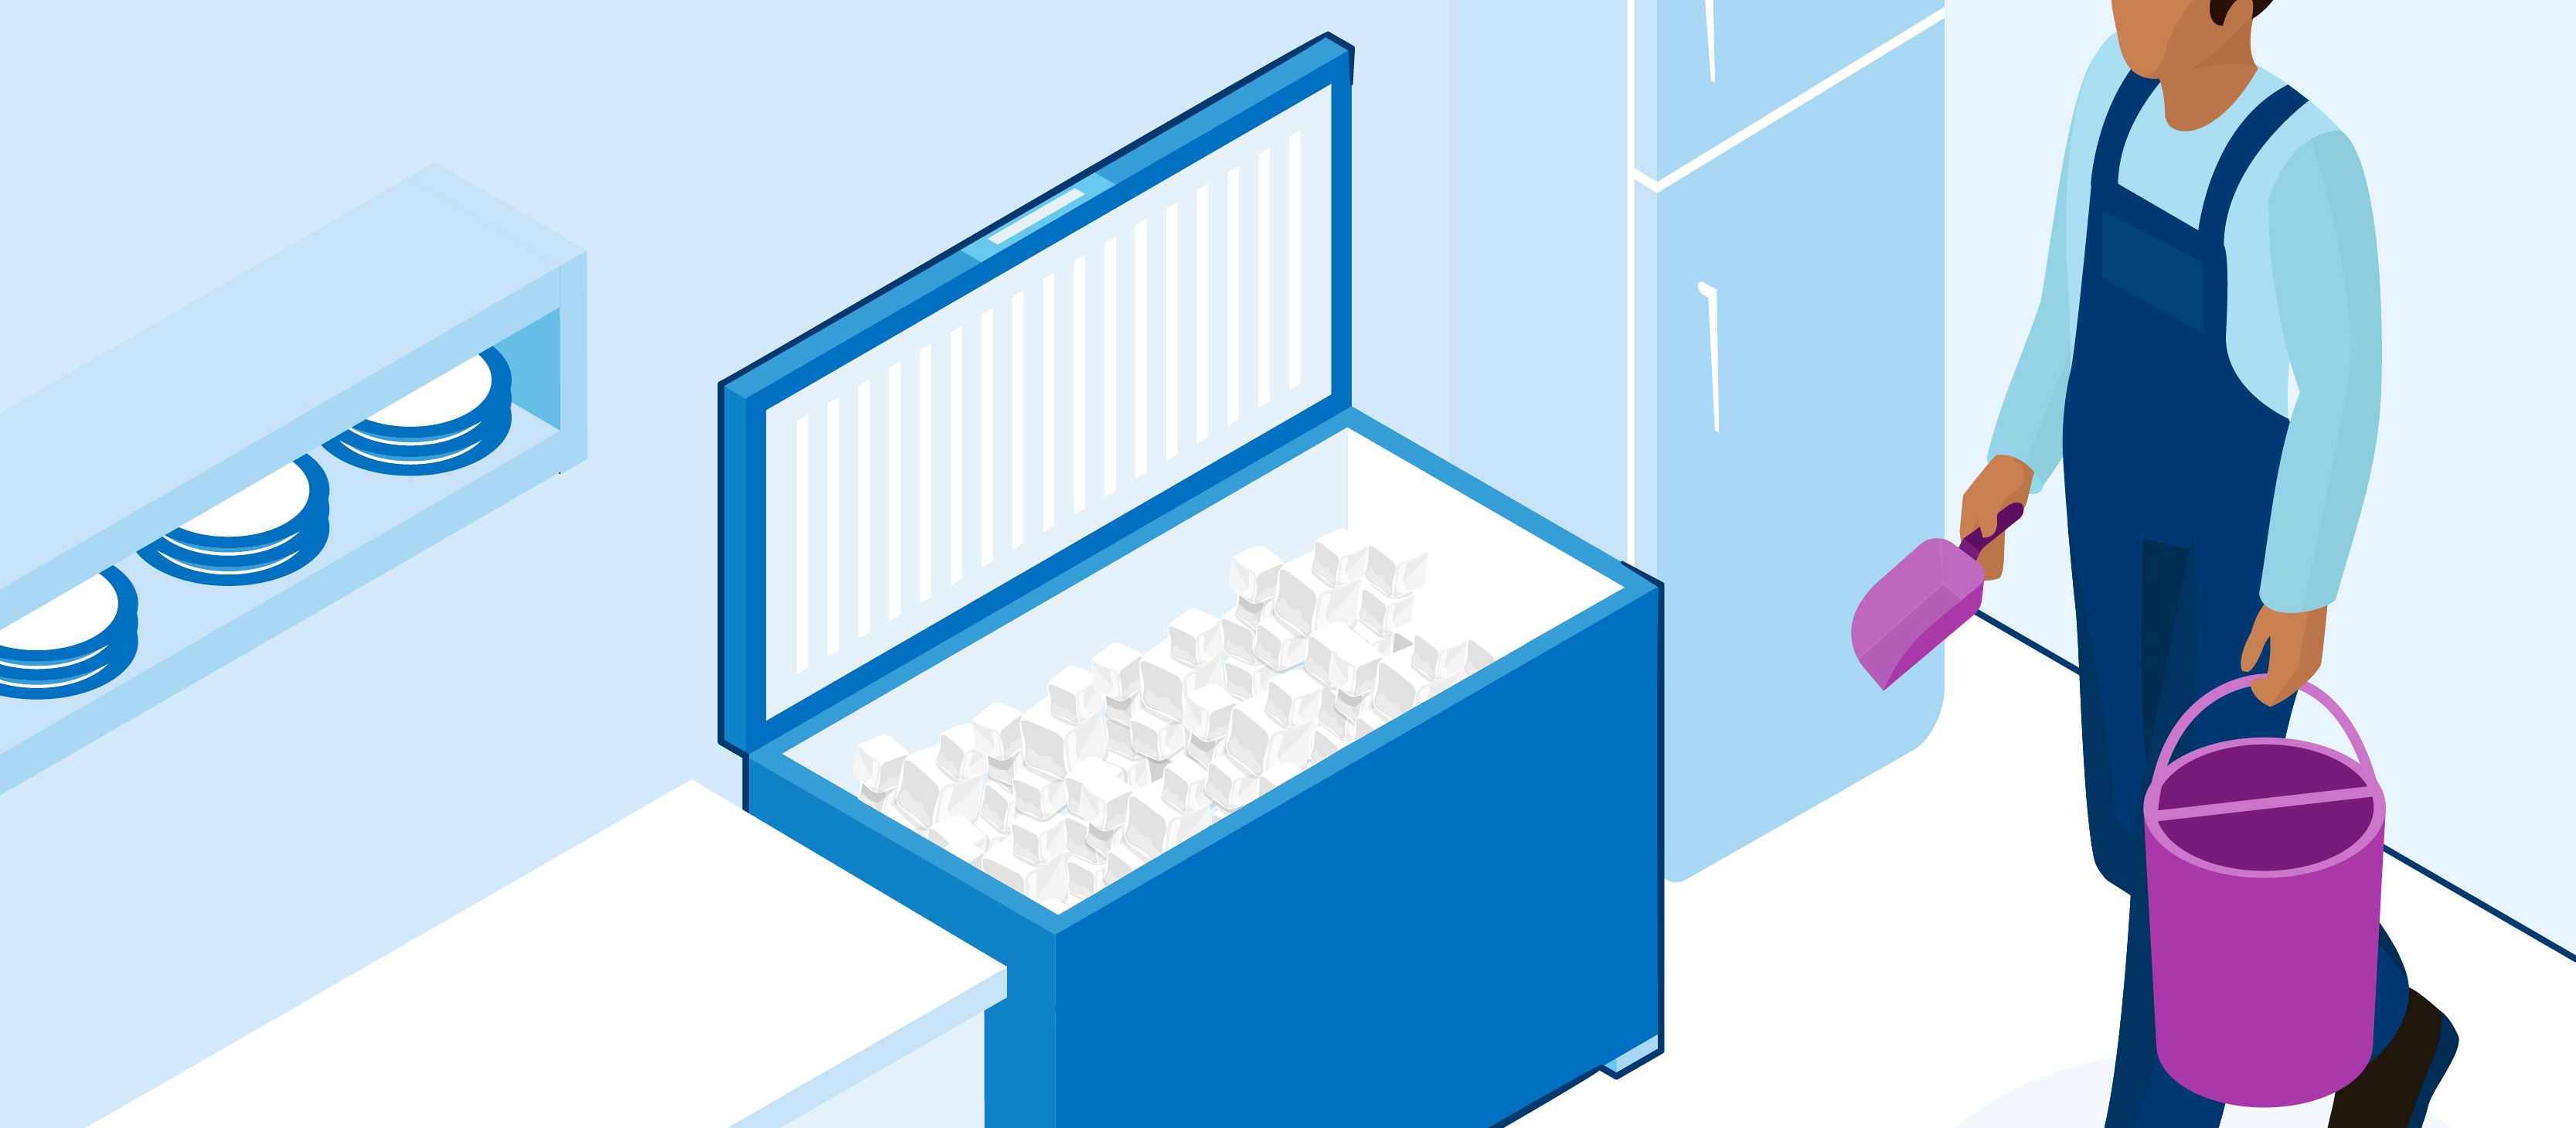
How to clean an ice machine
Ice machines play a role in keeping smooth operations at restaurants and bars, hotels, and hospitals. Whether it’s chilling drinks and preserving food or managing pain and swelling, a steady supply of clean ice makes a big difference for guests, patients, and employees alike.
When so many needs are handled with ice, neglecting the cleanliness of the machines that make it can lead to many issues, including health hazards, poor ice quality, and even equipment failure. That’s why we’re here to dig deeper into the importance of regularly cleaning your facility’s ice machines, along with an easy step-by-step guide to help your cleaning staff keep them hygienic and in good shape.
Why clean your facility’s ice machines regularly?
Ice makers can be overlooked when it comes to regular maintenance and cleaning at your facility. And while replacing the ice itself frequently is important, thorough appliance cleaning is vital. Here's why:
Health and safety
Ice machines are in constant contact with water, which can become breeding grounds for mold and germs when stagnant. Contaminated ice, in turn, can pose health risks to your guests or patients and even employees, potentially leading to foodborne illnesses (such as E.Coli and Salmonella).
By maintaining clean ice machines, your staff can help keep everyone at your facility safe and healthy.
Improved ice quality
Dirty machines and clogged filters can produce cloudy, foul-tasting ice or incomplete cubes. So, reminding your cleaning staff to frequently take care of ice makers can help produce clearer and fresher ice, free from contaminants or unpleasant odors. This contributes to a better experience for your guests or patients.
Enhanced efficiency
Dirt, limescale, and mineral deposit buildup can hinder the efficiency of your machines, causing them to work harder to produce ice. This can lead to increased energy consumption, higher utility bills, and even a shorter lifespan for your appliances.
Put simply, having your staff clean ice machines regularly helps maintain optimal performance and could extend the life of these work tools.
Regulatory compliance
Many health and safety regulations require regular cleaning and maintenance of food-related equipment and since the U.S. Food and Drug Administration (FDA) classifies ice as food, that means they apply to ice machines too. [1] In other words, regularly cleaning these appliances helps your facility stay compliant and could avoid potential fines or closures.
Cost savings
A well-cared-for commercial ice maker is less likely to experience malfunctions, leading to lower maintenance costs over time. So, it’s worth reminding your staff that by investing time in regular cleaning and maintenance, they can prevent costly equipment repairs or replacements caused by neglect.
How often do ice machines need to be cleaned?
There is no “one size fits all” timing to clean ice makers, so it’s always a good idea to refer to the manufacturer instructions of your specific machines. This is generally between 2-4 times a year (every 3-6 months). [2]
Just keep in mind that certain circumstances may lead to adjusting your cleaning schedule, including:
- High-usage environments (large-scale restaurants, bars, or hotels for example)
- If your facility is in an area with poor water quality/hard water
- Exposure to contamination or signs of bacteria or mold (in which case, immediate cleaning is necessary)
Ice machine cleaning step-by-step guide
Now you realize how important it is to keep your ice machines clean, a straightforward process for your staff to follow will go a long way in maintaining hygiene standards. The first, crucial step is to make sure your facility is fully equipped to do the job:
Ice machine cleaning equipment
Manually cleaning ice machines can be easy if done regularly as part of your deep cleaning routine. Here's what you'll need to equip your staff with:
- Clean, soft microfiber cloths
- Mild detergent or ice machine cleaning solution
- Sanitizing solution
- A bucket
- A soft bristle nylon brush or toothbrush
- A screwdriver (if disassembling is necessary)
- Personal protective equipment (mask, rubber gloves, protective safety glasses)
Ice machine cleaning instructions
Sharing the following simple steps with your staff can help ensure a clean and hygienic ice machine that produces high-quality cubes for your guests or patients:
Step 1: Start with hand hygiene
Before you take on any cleaning tasks, especially in hygiene-critical environments like hospitality or healthcare, proper hand hygiene is crucial.
This means washing your hands with warm water and soap for at least 20 seconds, then drying them with a paper hand towel. Alternatively, you can apply an alcohol-based or alcohol-free hand sanitizer to your skin.
Bonus tip for managers: Make hand hygiene products accessible
It is vital to make sure that your staff and employees have access to hand hygiene products. You can make this happen with Tork. Just place our hand soap and paper hand towel dispensers in your facility’s restrooms and kitchens as well as hand sanitizer dispensers in high-traffic areas (also near any ice machines, in this case).
And to ensure they’re always stocked up you can leverage the power of technology with Tork Vision Cleaning. Our real-time data solution informs your cleaning staff of exactly where and when a hygiene product refill is needed so that nobody misses out on hand hygiene.
Step 2: Turn the machine off
Before you begin with the actual cleaning, make sure you turn the ice machine off and unplug it from the power supply. This is extremely important to eliminate the risk of electrocution during the cleaning process, safeguarding your wellbeing.
It’s also a good idea to turn off the machine's water supply to reduce the mess and help with a more hygienic clean.
Step 3: Empty the ice bin
Discard any remaining ice from the bin to prevent it from becoming contaminated with cleaning products.
Step 4: Disassemble the machine (if necessary)
Depending on the model, you may need to remove certain parts of your ice maker, such as the cover, bin, or water tank, to carry out properly thorough cleaning. Make sure to refer to the manufacturer’s manual for specific instructions.
Step 5: Clean the inside
Using a mild detergent or specialized ice machine cleaner, wash the interior surfaces, including the evaporator plate and water tank. Every cleaning product works differently, so make sure to check the label for instructions and cross reference this with the cleaning guidelines in your ice machine manual. Try using a soft brush or damp microfiber cloth to scrub any stubborn dirt or mineral buildup. Pay particular attention to corners and crevices where mold and germs could thrive.
Step 6: Rinse thoroughly
After washing, rinse with clean, warm water to remove any detergent residue or loose dirt. Keep in mind that this step is essential, as leftover cleaning products could contaminate the ice.
If any residue remains after rinsing, you can use a damp cloth and a solution of clean water and mild dish soap to remove it. Then, rinse again and use a clean soft cloth or paper wiper to dry the machine — this helps remove any water spots and reduce the risk of excess moisture causing bacterial growth.
Step 7: Sanitize
Prepare a sanitizing solution according to the machine’s user manual. With a clean cloth or spray bottle, apply the liquid to all cleaned surfaces, allowing it to sit for the recommended contact time to effectively kill any remaining germs. After this time, rinse again and dry with another soft cloth or paper wiper, according to the specific product’s instructions.
Step 8: Reassemble the machine (if necessary)
Follow steps 5 to 7 for any parts that may have been removed during disassembly. Once everything is thoroughly cleaned and sanitized, reassemble the ice machine according to the manufacturer’s instructions. Double check all of the parts are fitted correctly to avoid operational issues.
Step 9: Restart the machine
Plug the ice machine back in and turn it on. Allow it to go through one cycle and create a batch of ice. Then, throw out that first batch to help flush any leftover dirt or cleaning products out.
Step 10: Clean the exterior
While the ice cycle is running, you can use a damp cloth or heavy-duty paper wiper and some detergent to clean the exterior parts of the machine, including:
- Panels
- Vents
- Condenser coils
How to set up a wash cycle on an ice machine
Keep in mind that some machines may have an automatic cleaning cycle that does all of the work for your staff. If this is the case, all they need to do is:
- Empty all of the ice from the bin
- Add mild detergent or ice machine cleaner according to the user’s guide
- Allow the clean cycle to run until complete
- Let the machine make a batch of ice, then dispose of it
These general guidelines may vary slightly from model to model, so it’s a good idea to check the manufacturer’s manual before proceeding. Also, note that this kind of automatic cleaning is normally restricted to the inside of the machine, so step 10 would still need to be performed by your staff.
Whether done manually or automatically, cleaning commercial ice makers is essential for maintaining a safe and efficient hospitality or healthcare environment. By making ice machine cleaning a regular part of your staff's routine, you're not just ensuring high-quality ice—you’re also protecting your guests or patients and employees, as well as extending the life of your equipment. A well-maintained machine potentially means fewer appliance breakdowns, better efficiency, and even peace of mind at work. In short, it’s worth the effort.
Looking to dive deeper into the best ways to keep high hygiene and cleaning standards at your facility? Explore why hand hygiene is important in the workplace and find more helpful tips in our facilities management and cleaning guide.